OIDC with DEX
Choose this option if you already have a running instance of Dex – A Federated OpenID Connect Provider (IdP) in your cluster and want to enable OIDC authentication using the Dex IdP.
Prerequisites
Add the following static client configuration to your Dex IdP’s config.yaml:
staticClients:
  - id: kubeshark
    secret: <create your own client password>
    name: Kubeshark
    redirectURIs:
      - https://<your-kubeshark-host>/api/oauth2/callback
Replace <your-kubeshark-host> with Kubeshark’s URL.
Kubeshark Configuration
Add the following Helm values to enable OIDC authentication using your Dex IdP:
# values.yaml

tap:
  auth:
    enabled: true
    type: dex
    dexOidc:
      issuer: <insert Dex IdP issuer URL here>
      clientId: kubeshark
      clientSecret: <your client password>
      refreshTokenLifetime: "3960h" # 165 days
      oauth2StateParamExpiry: "10m"
      bypassSslCaCheck: false
Note:
Set tap.auth.dexOidc.bypassSslCaCheck: true
to allow Kubeshark communication with Dex IdP having an unknown SSL Certificate Authority.
This setting allows you to prevent such SSL CA-related errors:
tls: failed to verify certificate: x509: certificate signed by unknown authority
After configuring the values file, install Kubeshark with the following command:
helm install kubeshark kubeshark/kubeshark -f ./values.yamlKubeshark will now be installed with Dex-based OIDC authentication enabled.
Try Your OIDC-Enabled Kubeshark
Once OIDC is enabled, you’ll be redirected to the Dex IdP login page.
Example: Dex IdP Login Page
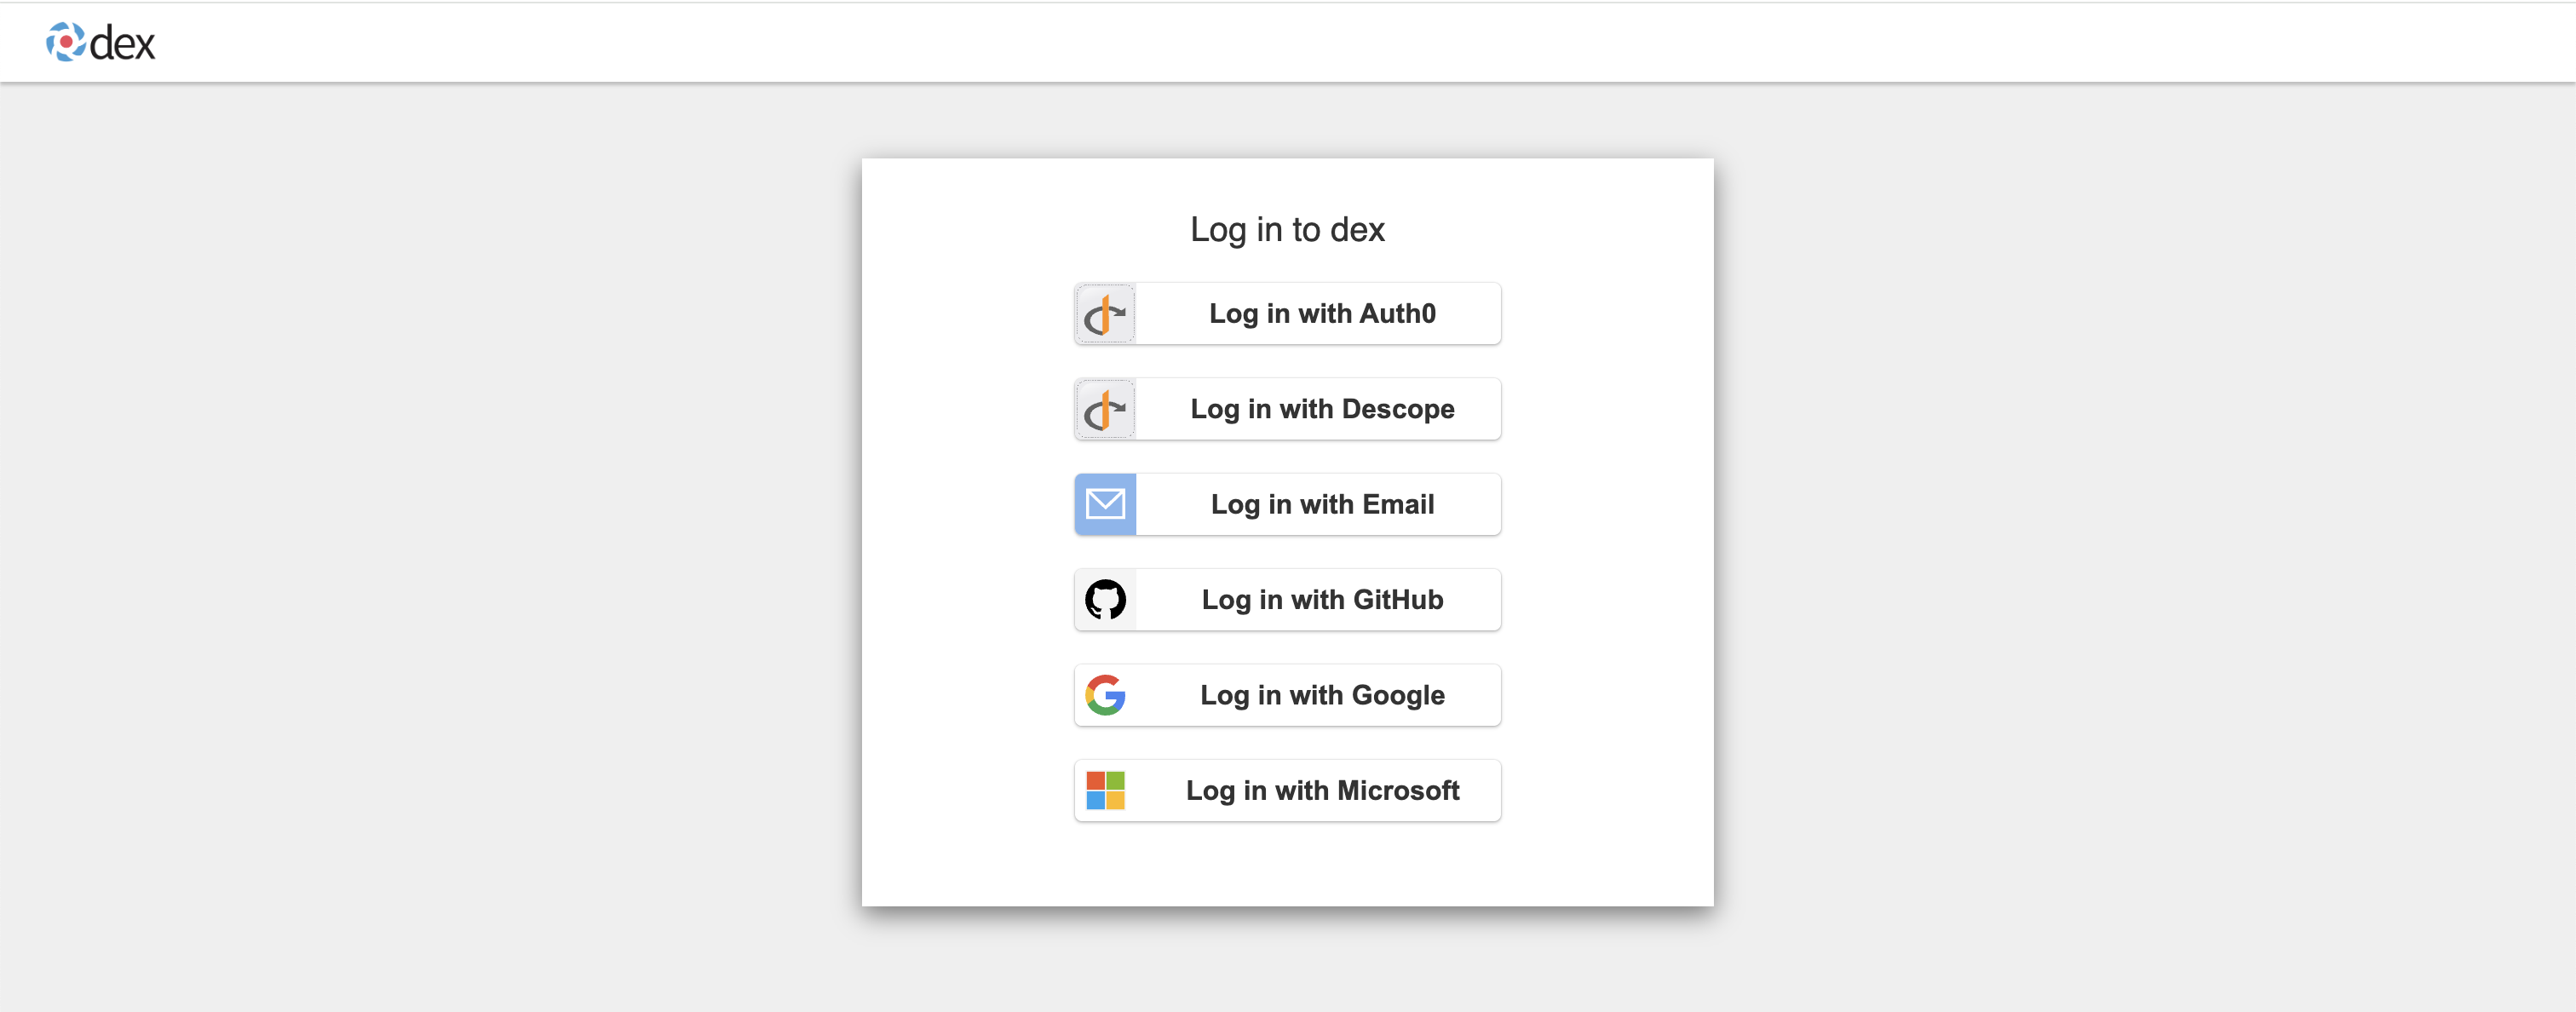
-
Choose a login option and click it. Your upstream IdP (Google, Microsoft, etc.) will guide you through the authentication process.
-
After successful authentication, you’ll be directed to a page where you can grant Kubeshark access to your user information:
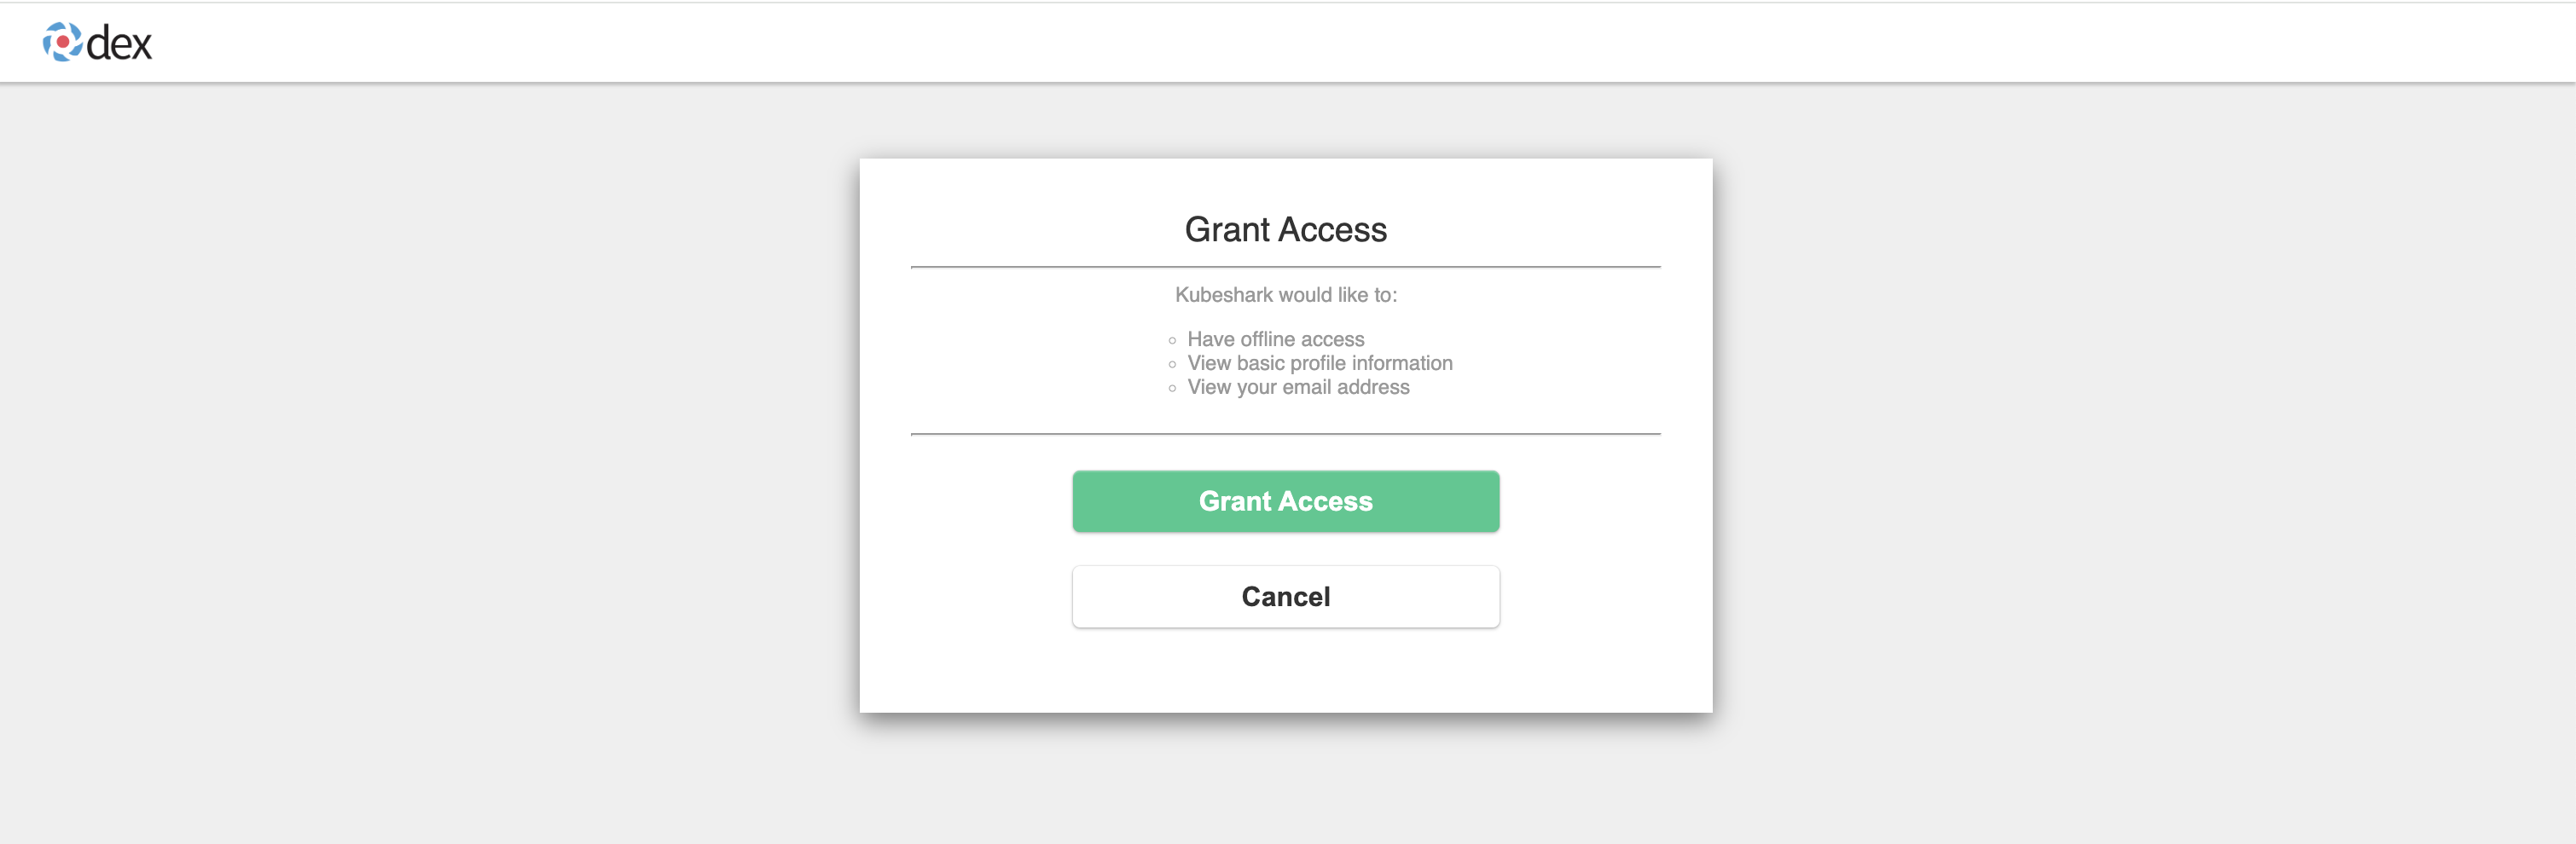
-
You’re logged in! Your email should appear in the top-right corner of the Kubeshark dashboard:
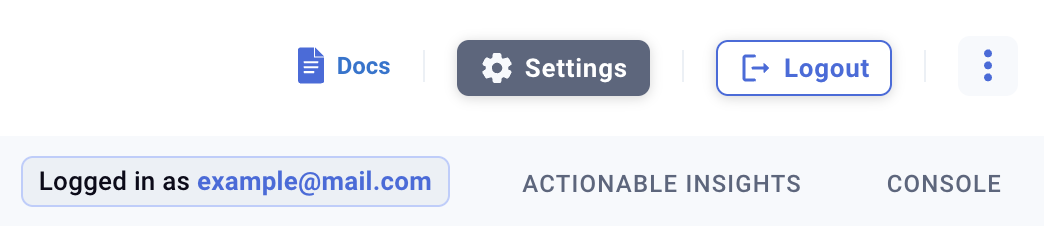
-
You’re authorized! You can now use Kubeshark as usual.