Kubeshark on Openshift
Kubeshark is designed to run seamlessly on Openshift, but we recommend deploying Kubeshark in its own dedicated namespace. For instance:
kubectl create namespace kubeshark
kubeshark tap -s kubeshark
TL;DR - Create an Openshift Cluster on AWS
Prerequisites:
- An active Redhat account
- An active AWS account
- Have the following CLIs installed and configured: rosa, aws and oc.
If you don’t have an Openshift cluster, you can follow the instructions below to install one.
Get rosa token from here.
Login to Openshift:
rosa login --token="eyJh..."Ensure AWS CLI is installed and configure:
aws configureRead more about how to install AWS CLI here.
Create the require roles in AWS for an Openshift Cluster
rosa create account-roles --mode auto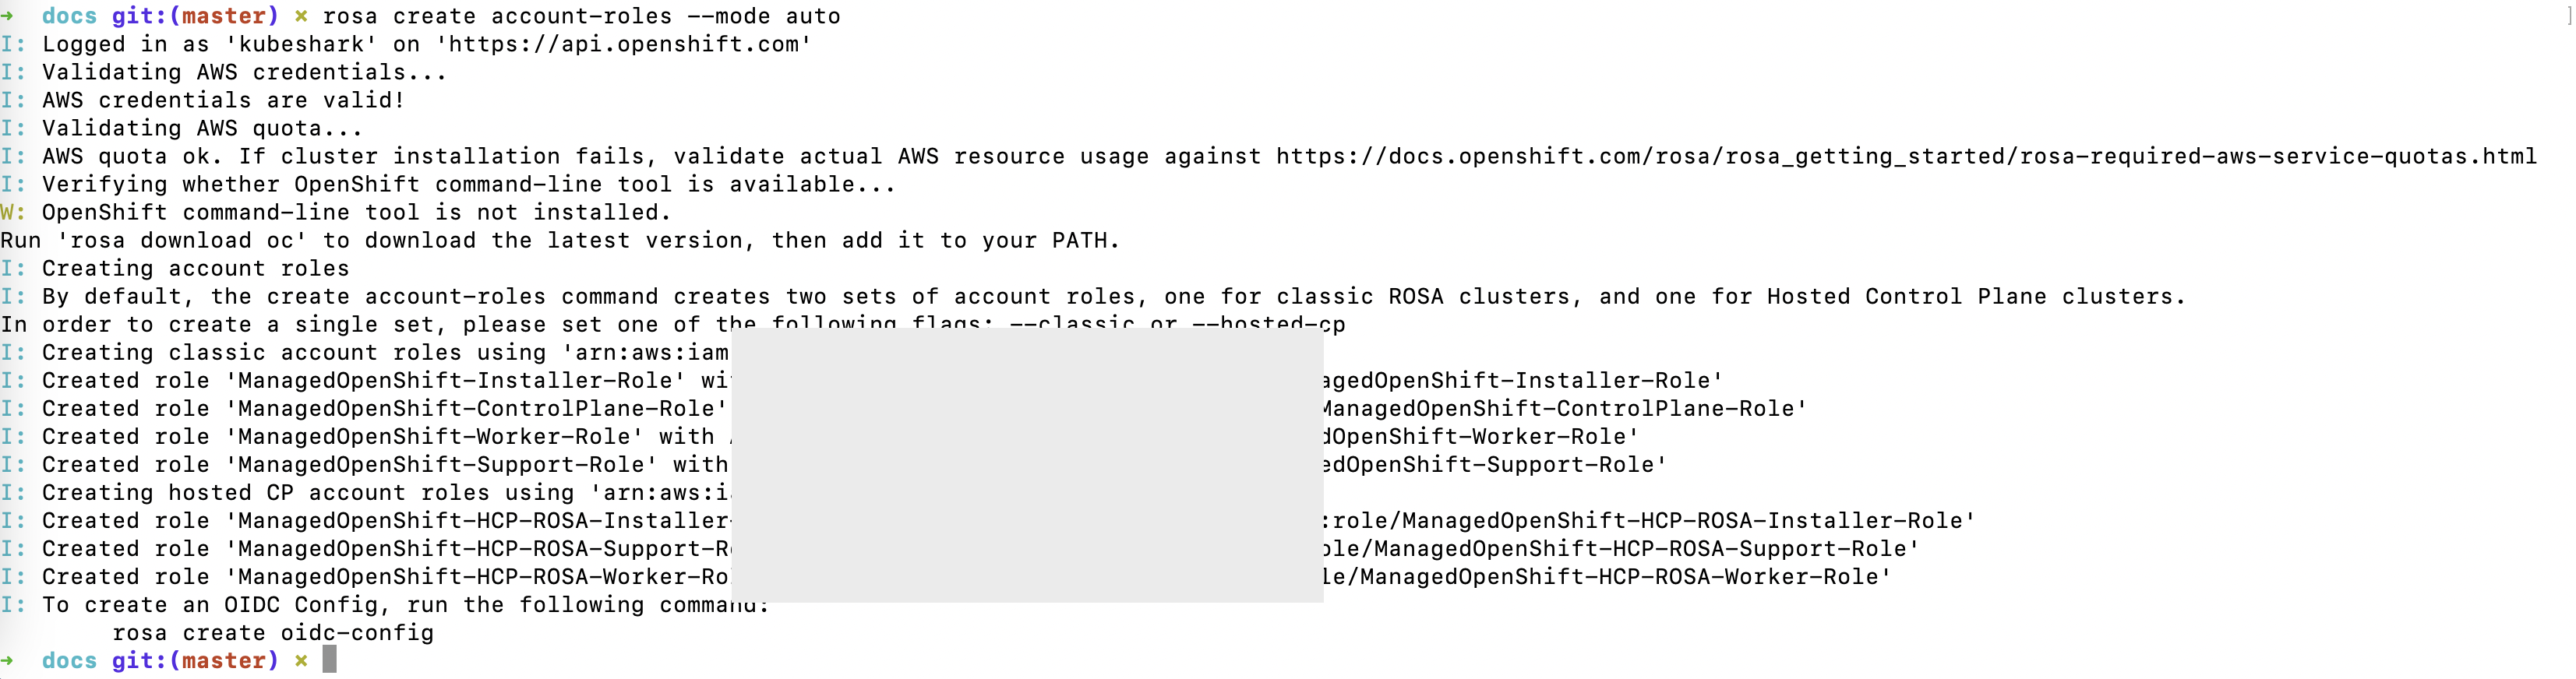
Create an Openshift cluster
rosa create cluster --cluster-name <cluster-name> --sts --mode autoChoose ManagedOpenShift-Installer-Role when asked:

You can track the cluster creation progress with:
rosa logs install -c <cluster-name> --watchOnce the cluster is created, create a cluster-admin user:
rosa create admin --cluster=<cluster-name>Follow the on-screen instruction to log in to the actual cluster. Something like:
oc login https://api.kubeshark.ABC1.p1.openshiftapps.com:6443 --username cluster-admin --password <super_long_pwd>Verify all nodes are in Ready status:
oc get nodes